When I was in college, my friends and I used to come together on Friday evenings and play Magic at the kitchen-table of whoever was hosting that evening. The evenings pretty much always had the same recipe: play some Legacy while drinking beer. After a few beers, the number of misplays became too high, and we'd switch to casual free-for-all multiplayers. Nowadays, we still try to have these Friday nights together, but since real life has caught up, they are unfortunately far less frequent. However, over these past years, we've created a lot of casual multiplayer decks. In this article series, I am going to discuss some of these beautiful abominations we came up with.
In our playgroup, we have a few unwritten rules about our multiplayer decks:
- They should be fun. If a deck it too overpowered or too prison-y, it should be amended.
- We adhere to the Legacy ban list. However, occasionally we do allow a card as 1-off from the Legacy ban list, and there's even one deck where we allow a single Unglued card. Spoiler: this is that deck!!
In this article, I am going to talk about a Barren Glory deck played in our group.
As you read earlier, our decks usually adhere to the Legacy banlist. This deck, however, still plays Sensei's Divining Top. This is because the deck was constructed before top got the axe. The goal of this deck, is to win with an alternative win condition and thus immediately ending the game. So how do we do that?
Winconditions
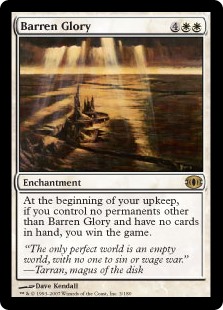
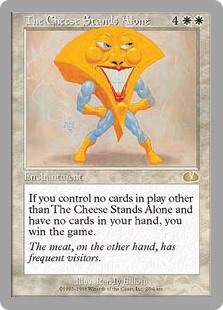
Barren Glory is an Alternative Win card, stating that you win at the beginning of your upkeep if you have no cards in hand and you have no permanents in play other than Barren Glory. As fifth Barren Glory, we allow a single The Cheese Stands Alone, because it's awesome. While technically The Cheese Stands Alone is an upgrade over Barren Glory, it's mostly used as last out if you really have to win right there and then on the spot. Otherwise, usually a Barren Glory win is preferred.
So how do we make sure you end up with just Barren Glory?
There are a few paths we can take. One of them is to make sure you resolve an Academy Rector. When you have him into play, play Kaervek's Spite in the end-step of your opponent before you. You can then sacrifice all your permanents, including the Rector and voila: you can tutor up your Barren Glory.
Another similar way is to get Academy Rector or Barren Glory in play. When you play Renounce, you can sacrifice everything, including the rector, or everything except Barren Glory. This however requires some set up, since you have to make sure that Renounce is the last card in your hand.
The deck also plays two Near-Death Experience as extra win conditions. Together with Angel's Grace this can get you out of some very scary situations and still force through a win.
During the game
So now that we have a path to victory, we need to stay alive until we win. Barren Glory is , which is a lot of mana. Academy Rector is only . Shaves off 2 mana, but we still need to stay alive until we can go off.
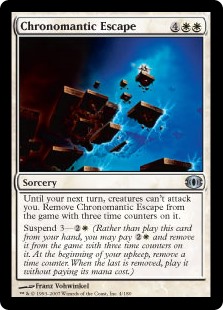
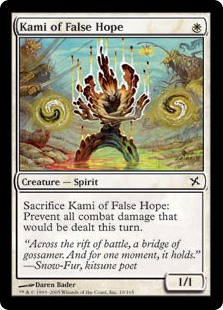
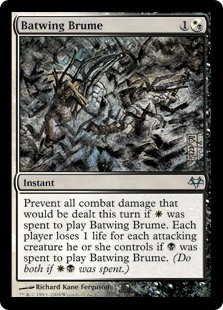
This is why the deck plays a lot of fog effects, like Chronomantic Escape, Holy Day, Kami of False Hope and Batwing Brume. We need those spells to stay alive, and since they're all cheap to cast and thus easy to get rid of if we need to win by casting them. With Batwing Brume it's actually possible to squeeze out an unexpected kill. During casual multiplayers you always have that one player who makes a LOT of tokens and decides to kill you with one enormous attack. Well, if that's how you want to play, why don't you lose 40 life?
One time when this deck won a free-for-all multiplayer, was when there were only 3 players left. One of the players had a lethal attack to the second player, while the Barren Glory player was also still at the table. Once the damage resolved, and the defending player was eliminated, the Barren Glory player was able to kill the one left with a Kaervek's Spite at the end of their turn. Surprise!
The Flagstones of Trokair might seem somewhat counter-intuitive. The card is mostly used for some deck thinning and could also be used in emergency situations with Renounce to gain some life and still keep lands in play.
Past versions
Believe it or not, this deck has very briefly played One with Nothing at some point. What easier way to get rid of your hand?
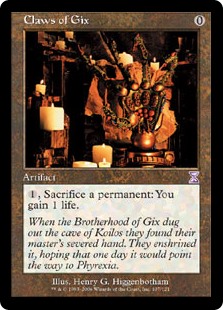
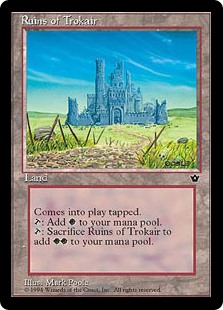
However, when the first iteration of this deck was brought to the table, and no one knew what was going on, the pilot tried to go off with the deck. While doing so, he discovered that he grossly miscalculated how the deck should work, meaning he could never end up with JUST Barren Glory. This happened when the deck used to play Claws of Gix and didn't have any lands that could produce multiple mana, like Ruins of Trokair. So you basically had to tap each Plains to sacrifice itself, but in the end, that left him with no mana and a Claws of Gix in play.
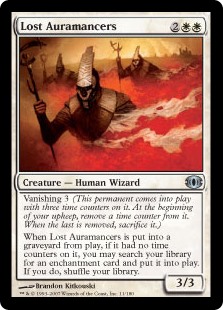
In earlier versions, the deck also used to play Lost Auramancers rather than Academy Rector. This was also before Rector jumped in price, but the advantage of the Auramancers was that it would ultimately get rid of itself if left alone.
Same idea
When Barren Glory was released, there were two people in our group who wanted to build around it. This also led to the following deck, which is a bit more budget. This also is thanks to the use of Lost Auramancers instead of Academy Rector. The deck uses Remote Farm and Ruins of Trokair; lands that sacrifice themselves and with the two extra mana you could sacrifice other permanents with Claws of Gix. This would solve the problem with Claws of Gix described above.
It's interesting to see how there are different approaches to build around this deck. Ultimately, this other version was taken apart. However, it can be put together for less than $15. Here the deck revolves a lot around Lost Auramancers, which is being protected by Resilient Wanderer and Vigilant Martyr. Together with Tireless Tribe, these creatures could also be used as discard outlets.
What do you think about this deck? Fun? Not fun? Do you think there are better options for future improvements? Let me know on Twitter.

